Exporting to a Player
The Ultimate Guide to Gideros Studio
Exporting your project
Before you can upload your project to your device or a store you need to export it. In Gideros Studio this is a one step process:
- File -> Export Project (icon: "Exports current project", shortcut: CTRL+E)
You then choose the platform you want to export to.
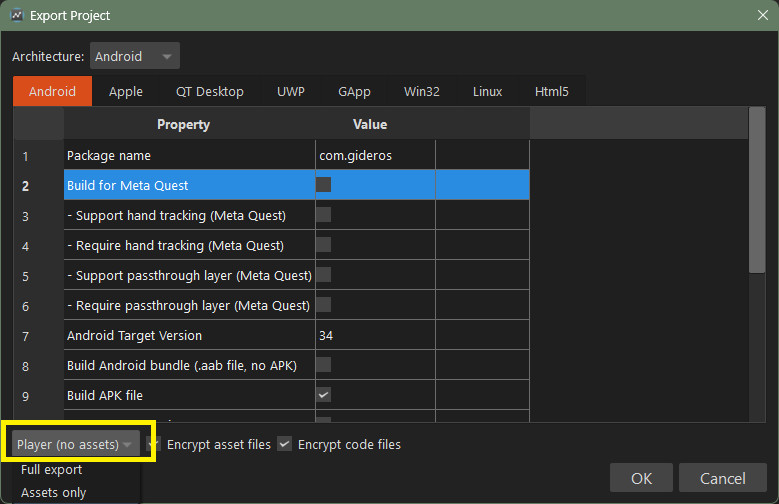
- Full export: build the executable
- Assets only: to update only the assets
- Player (no assets): this will build an Android/iOS player without any assets (please see next section below)
You can encrypt your code and assets files at the bottom of each export tabs.
Build your own Gideros Player
For Android and iOS, you can build your own Gideros Player.
Once built, you can upload it to your phone and test your Gideros apps/games via wifi.
Android
In order to export to Android, you need to have Android Studio IDE installed on your system (it is recommanded to install the executable version):
Latest Android Studio IDE comes with its own Java Development Kit (JDK). With the Android Studio IDE executable version, Gideros Studio will automatically setup all the paths for you, so you can leave the Android SDK Directory and JDK Directory empty.
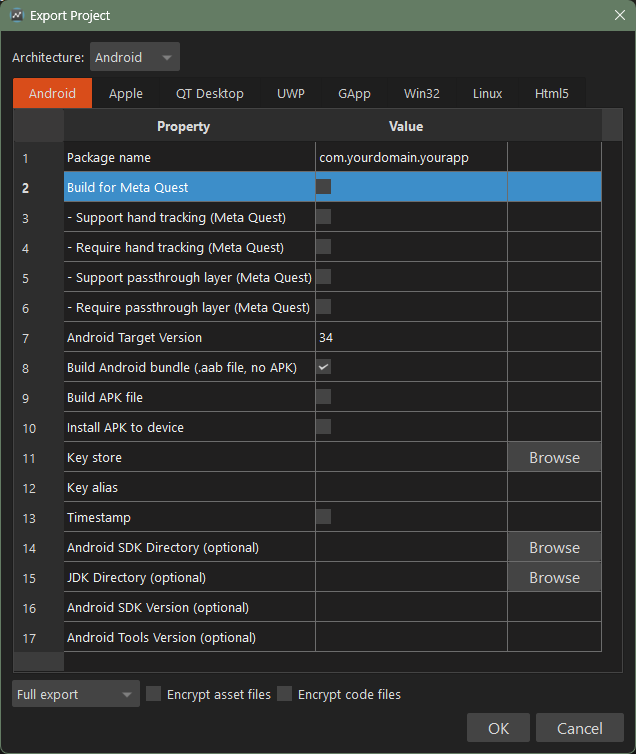
You then choose a Package name, the Android Target Version and all the other parameters to build your project.
If you don't specify a Key store and a Key alias, Gideros Studio will build a debug version of your file (.aab or .apk).
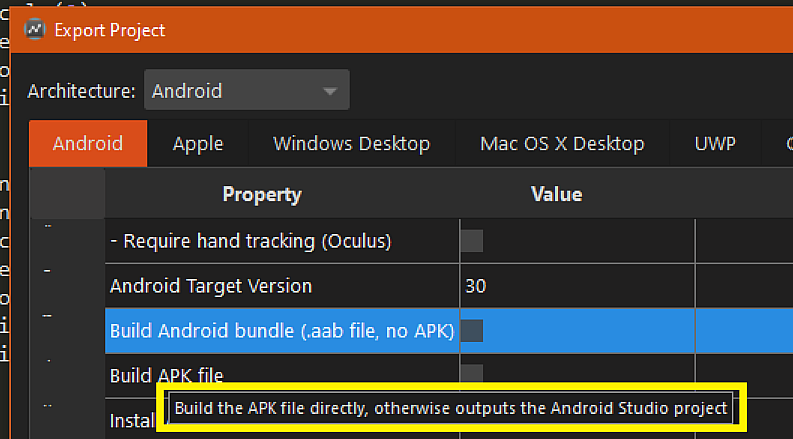
To output an Android Studio project, select neither Build android bundle nor Build apk file:
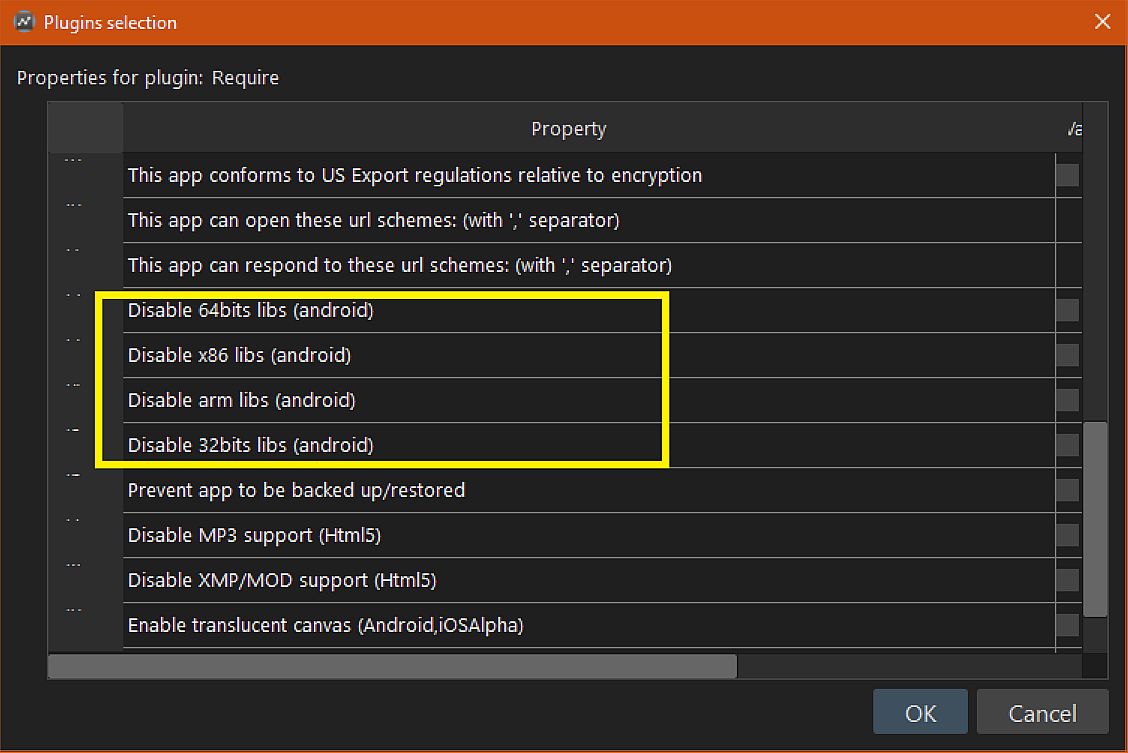
To disable Android libs, in your project add the Require plugin and double click it to see the options:
To build a Gideros Android Player, at the bottom of the tab, choose Player (no assets) instead of Full export. This will build an .apk file which you can upload to your Android phone to live test your Gideros projects over WiFi.
You are free to distribute/sell your app as you wish. There is no license attached to this export template.
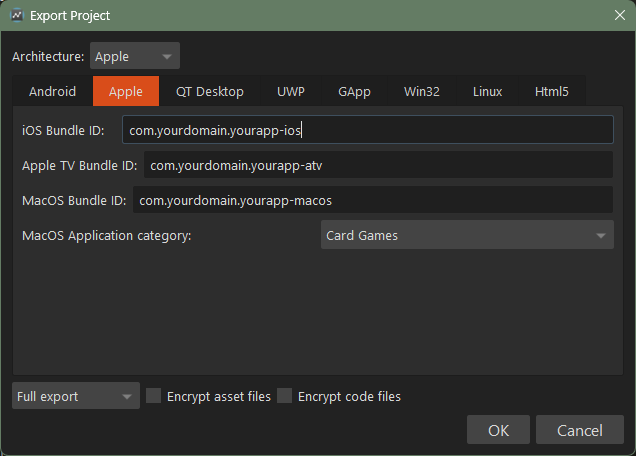
Apple
When exporting for Apple platforms, Gideros will output an Xcode project. Some plugins rely on CocoaPods so be sure to have it installed before exporting your project:
Once Gideros has exported your Xcode project, open it, using the .xcworkspace if present or the .xcodeproj otherwise.
Select the target (iOS, AppleTV or Mac) in the run schemes, and select your signing identity under the project->target properties.
Eventually configure other features your app needs and launch your app for testing.
When OK, you will be able to 'Archive' your app for app-store distribution.
You are free to distribute/sell your app as you wish. There is no license attached to this export template.
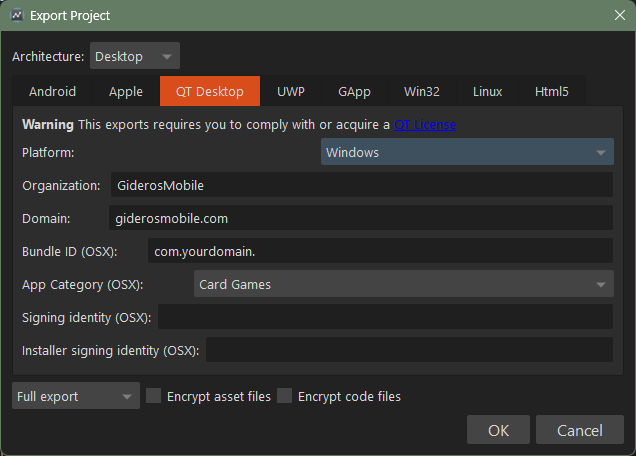
QT Desktop (Windows, MacOS, Linux)
This exports a Windows, MacOS or Linux x64 version of your app. You must agree to the Qt licensing:
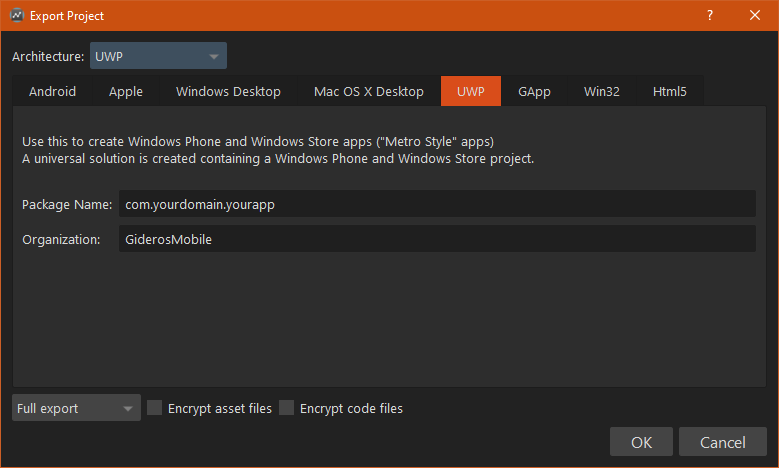
UWP
This exports a Windows UWP version of your app. Please follow this guide if you want to publish to the Microsoft Store:
You are free to distribute/sell your app as you wish. There is no license attached to this export template.
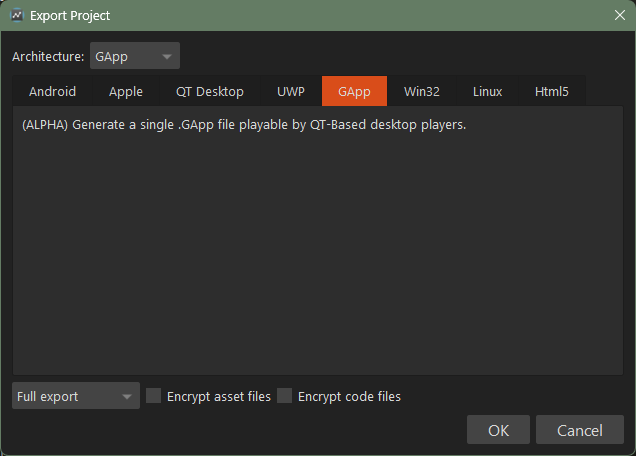
Gapp
This exports a Gideros app (Gapp) version of your app. The file is a single .gapp file, playable by Qt based desktop players (a web page for example).
You are free to distribute/sell your app as you wish. There is no license attached to this export template.
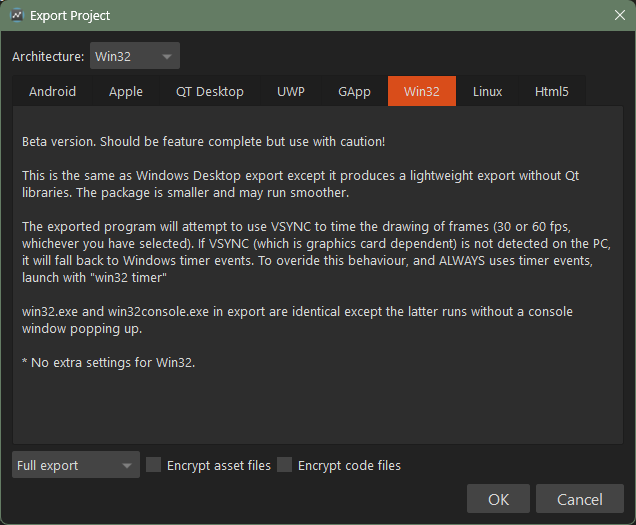
Win32
This exports a Windows win32 x64 version of your app.
You are free to distribute/sell your app as you wish. There is no license attached to this export template.
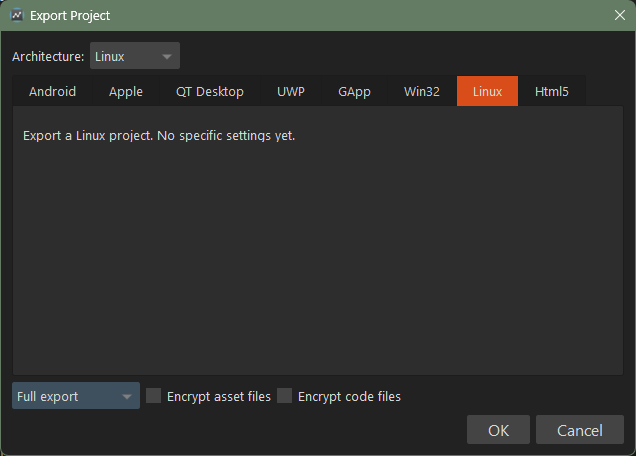
Linux
This exports a Linux version of your app.
You are free to distribute/sell your app as you wish. There is no license attached to this export template.
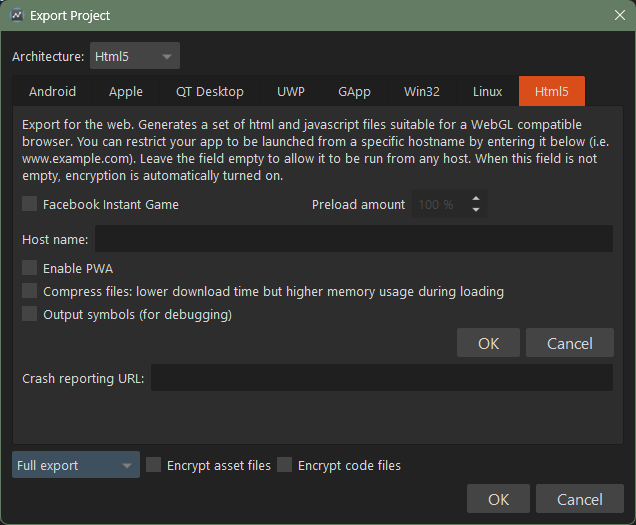
Html5
This exports an html5 version of your app in a folder. There are several options you can choose from (Facebook Instant Game, Progressive Web App, ...).
You are free to distribute/sell your app as you wish. There is no license attached to this export template.
XBox One
To export to XBox One, first you need to export your player using the UWP guide (see above), then you need to add being able to develop for the XBox One to your Microsoft developer account (if you have not already done this). The guide below shows you how to do this and how to send your UWP player to the XBox One.
To set up an XBox One dev account you can join id@xbox: https://www.xbox.com/en-GB/developers/id
It's also possible to develop on the XBox One using the Creators programme: https://developer.microsoft.com/en-GB/games/xbox/xboxlive/creator
Normally there is a $20 (personal) $99 (business) one-off fee for publishing on the Microsoft store, there are various schemes from Microsoft to receive a voucher, for example, if you are a student: https://azureforeducation.microsoft.com/en-us/Institutions
You may need to install the 'Dev Mode Activation App' on your XBox One and the ID of the XBox One console entered into the Partner Center. For all this, see: https://docs.microsoft.com/en-us/windows/uwp/xbox-apps/devkit-activation
The actual Dev Mode Activation App can be found here: https://www.microsoft.com/store/productId/9VWGNH0VBN60
Make sure your XBox One is in Developer Mode by starting the 'Dev Mode Activation App', this can take a long time - you may think it's broken, it isn't!
To activate, the link didn't work from the XBox One, I had to enter the code by pressing + here: https://partner.microsoft.com/en-us/xboxconfig/devices/index
On the XBox One in dev mode, you will have to add an 'XBox Live' test account. It has to be an existing 'XBox Live' account (it doesn't need to have a Gold subscription). It needs to be 'logged in'.
Note: In dev mode you can press the XBox icon on your controller to see what looks like a normal XBox One menu system, here you can setup Wifi, etc. It won't already have the settings from the normal (none-dev) XBox One menu - it's like having two completely different XBox One consoles.
Install Visual Studio 2019 (the latest Community free edition will do fine).
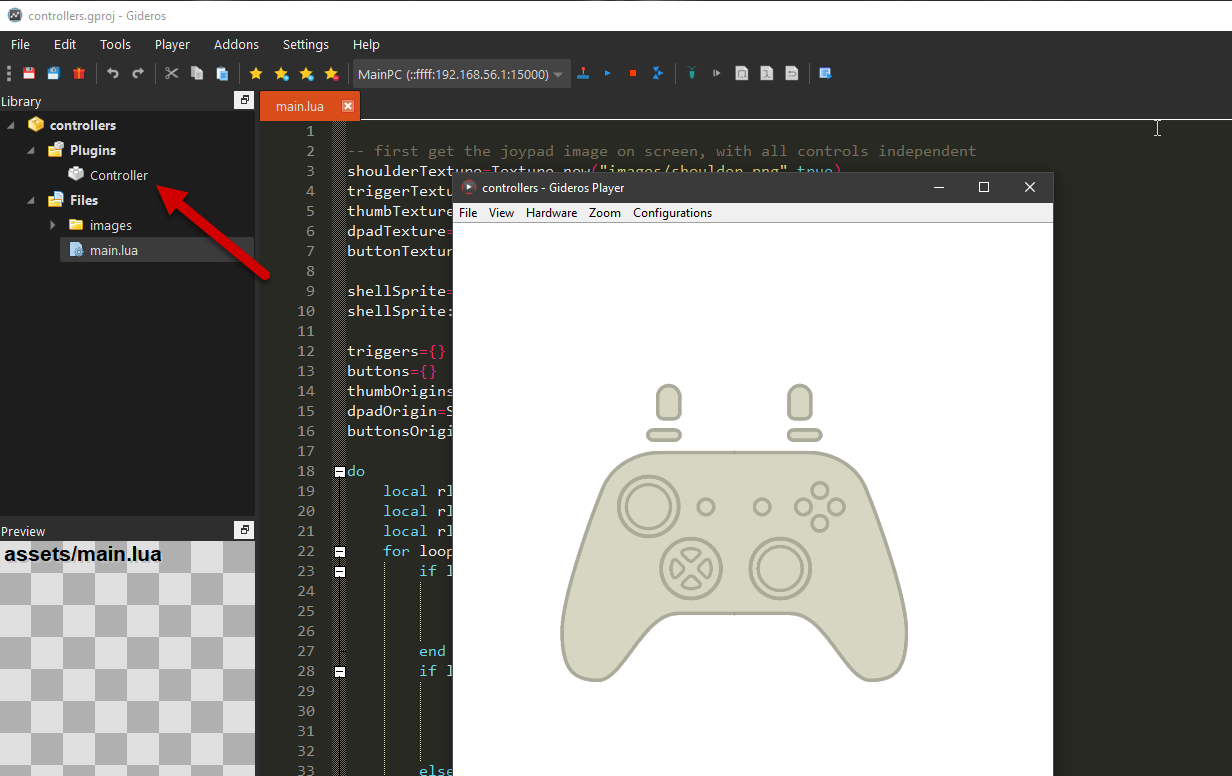
In Gideros Studio, add controller support to your game (see the "Controllers" plugin), you can test on the Gideros player before the export.
Export to UWP. Open the exported folder when asked at the end of the export by clicking 'Show'.
Double-click the 'giderosgame.sin' file, if asked set the default program to Visual Studio 2019.
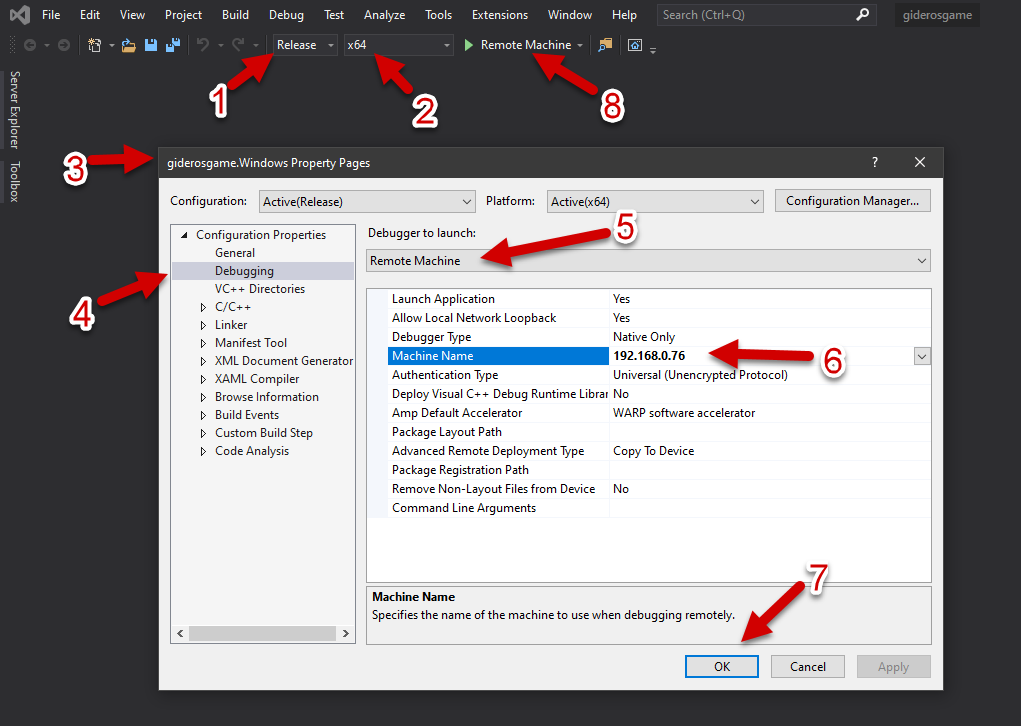
Once Visual Studio has finished loading your game, change the Debug dropdown item in Visual Studio to 'Release' (1), and the output to 'x64' (2).
Click on the 'Debug' menu item at the top of the screen, select the project properties (bottom item) for your game (3).
Select the 'Debugging' properties for the project (4). Change the setting from 'Local Machine' to 'Remote Machine' (5).
Set 'Machine Name' (6) to the hostname or IP of your XBox One (in developer mode).
Set 'Authentication Type' to 'Universal (Unencrypted Protocol)', normally this is already the default.
Click 'ok' to exit Properties (7).
Now click the green 'Play' icon (8) in the toolbar to send the game to the Xbox One. The game will be built and installed on the console.
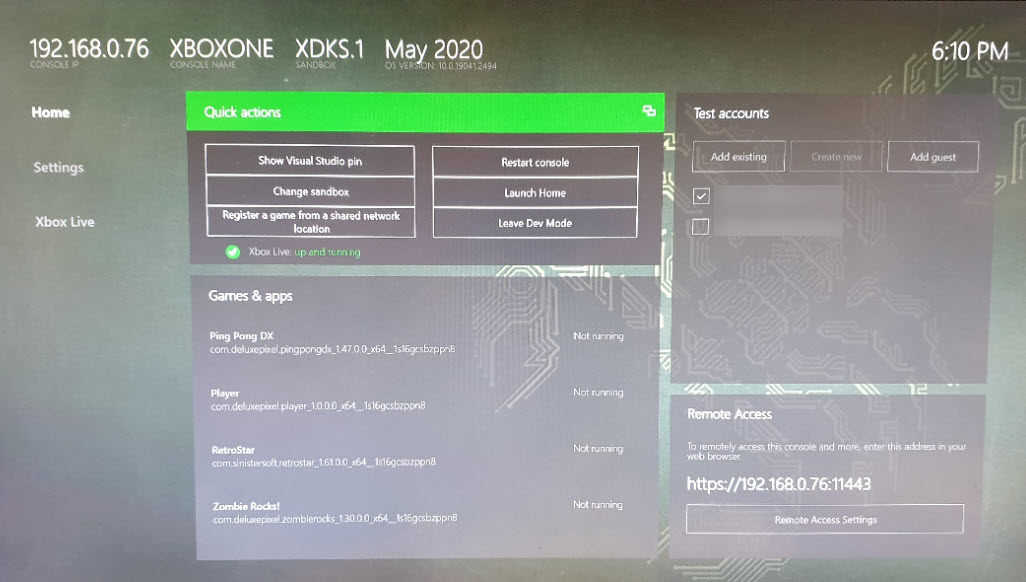
Sometimes Visual Studio will prompt for a pin, on the XBox One in 'Dev Home', click 'Show Visual Studio Pin' to see this pin.
If you export a player to the XBox One then you can use that for really rapid development - sending your game code and assets across in seconds.
If you get an error:
If you get an error like "Error C2567 unable to open metadata in 'c:\program files (x86)\microsoft visual studio\2019\community\vc\tools\msvc\14.25.28610\lib\x86\store\references\platform.winmd', file may have been deleted or moved"
It means that Microsoft have updated the lib since the Gideros Template was created. You can fix it with this simple 'hack':
- Look in c:\program files (x86)\microsoft visual studio\2019\community\vc\tools\msvc\
- Copy it as this name: "c:\program files (x86)\microsoft visual studio\2019\community\vc\tools\msvc\14.25.28610" (or similar)
You are free to distribute/sell your app as you wish. There is no license attached to this export template.
The Stores
Google Play: https://play.google.com/apps/publish/
Apple's App Store: https://appstoreconnect.apple.com/
Facebook for Developers: https://developers.facebook.com/apps/
Amazon Developer Console: https://developer.amazon.com/home.html
Windows App Store: https://partner.microsoft.com/en-us/dashboard/windows/overview
PREV.: Hardware and OS
NEXT: Making a Plugin
